Prep Time: 20 minutes Cook Time: 15 minutes Total Time: 35 minutes Serves: 16 rolls
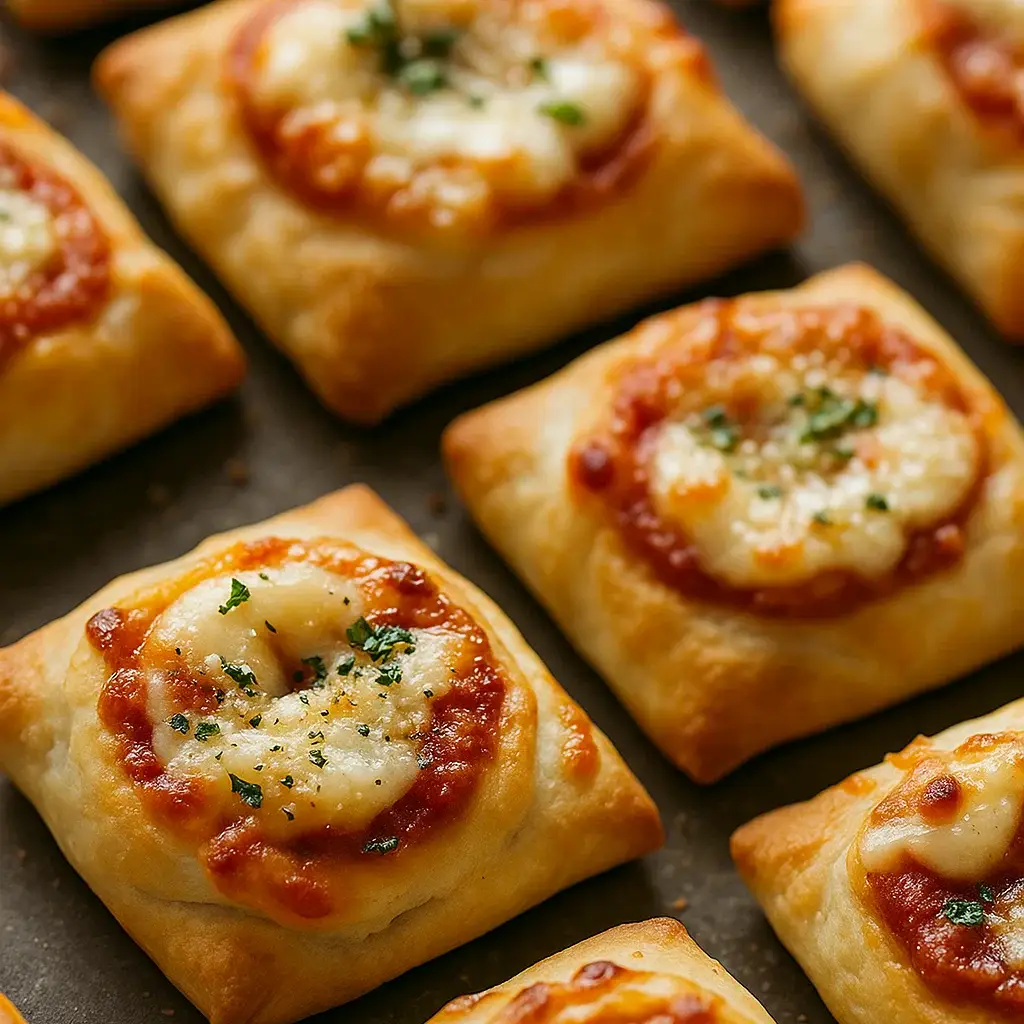
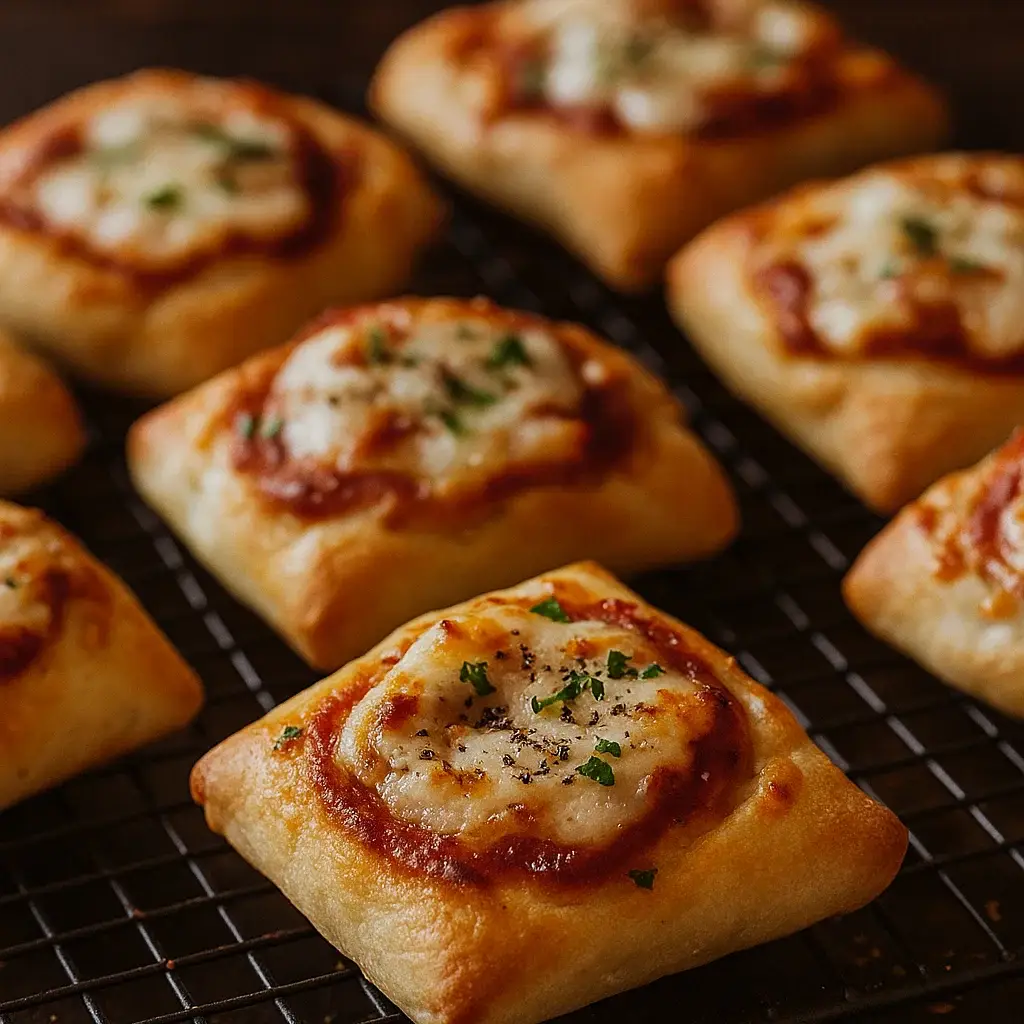
Homemade Pizza Rolls are a hands-on, comfort-food favorite because soft dough wrapped around gooey cheese, seasoned meat, and savory sauce transforms into warm, portable bites that deliver the same satisfying flavors as a slice of pizza—just munchable, customizable, and perfect for gatherings, movie nights, or easy dinners with family and friends.
Why Homemade Pizza Rolls are so delightful
Homemade Pizza Rolls capture the essence of pizza in every bite because each roll packs layers of melty cheese, tangy sauce, and savory fillings inside tender dough that’s rolled, sliced, and baked until golden. They feel fun to make and eat, stay crispy even after baking, and bring that cheesy, saucy comfort with zero fuss—a delightful twist on pizza that’s hands-on, communal, and endlessly customizable.
Ingredients
For the dough:
2 cups all-purpose flour
1 tsp instant yeast
1 tsp granulated sugar
½ tsp salt
¾ cup warm water
1 Tbsp olive oil
For the filling:
½ cup pizza sauce
1 cup shredded mozzarella cheese
½ cup mini pepperoni or chopped pepperoni
Optional seasonings: dried oregano or Italian seasoning
For finishing:
2 Tbsp melted butter
1 tsp garlic powder
2 Tbsp grated Parmesan cheese (optional)
The art of creating Homemade Pizza Rolls
Crafting Homemade Pizza Rolls is a labor of flavor layering and texture harmony because the dough must be soft and elastic for rolling, the filling balanced to stay sealed without bursting, and the finishing butter blend adds subtle richness. Rolling and slicing a log of dough filled with pizza ingredients creates stacked spirals that bake into crispy edges and tender, cheesy centers. The result is both visually appealing and deeply satisfying.
Step‑by‑step instructions
- In a mixing bowl stir together flour, yeast, sugar, and salt, then add warm water and olive oil, mixing until a rough dough forms because hydration and brief mixing develop structure without toughness.
Professional Tip: Use water that’s warm but not hot (around 110 °F) to activate yeast gently.
Key Points: Combine dry ingredients first, add wet gradually, aim for cohesive dough. - Turn dough onto lightly floured surface and knead for about 5 minutes until smooth and elastic, because kneading develops gluten that gives rolls structure while staying tender.
Key Points: Knead moderately, don’t add excessive flour, check for soft and slightly springy texture. - Let dough rest covered for 10 minutes to relax gluten, because this makes rolling easier and dough more elastic.
Key Points: Cover to prevent drying, rest time essential for handling. - Preheat oven to 425 °F and line a baking sheet with parchment, because higher heat ensures a golden crust and even baking.
Key Points: Preheat well, use parchment for easy removal, maintain oven temperature. - Roll dough into a rectangle about 12×8 inches, then spread pizza sauce evenly, sprinkle cheese, pepperoni, and seasonings across the surface because even distribution ensures full flavor in every roll.
Professional Tip: Leave a small margin along one edge for seal.
Key Points: Roll to even thickness, apply filling edge-to-edge except margin. - Roll dough tightly from long edge into a log, pinch seam to seal, then slice into 16 even rolls using a sharp knife or unflavored dental floss for clean cuts because uniform rolls bake consistently and preserve spiral shape.
Key Points: Roll firmly, seal seam, slice evenly. - Place rolls cut-side up on prepared sheet, brush tops with melted butter combined with garlic powder, then sprinkle with Parmesan cheese if using, because the butter glaze promotes browning and adds richness while the Parmesan gives a savory finish.
Key Points: Brush evenly, sprinkle cheese gently, space rolls for expansion. - Bake for 12–15 minutes until rolls are golden on top and cheese is bubbling because proper bake time ensures crisp edges and melty center without burning.
Professional Tip: Rotate pan halfway through baking for even color.
Key Points: Watch closely, achieve uniform browning, avoid overbaking. - Cool dips briefly on the baking sheet for 5 minutes before serving because that helps them settle and makes them easier to handle without losing shape.
Key Points: Cool slightly, maintain structure, serve warm.
Professional tips
Because these details elevate your outcome:
• Use dough that resists tearing when rolled—don’t over-flour.
• Limit fillings to avoid spillage.
• Let finished rolls sit a few minutes after baking to firm up.
• Use floss or sharp knife for neat slices.
• Brush generously with butter for golden finish.
Creative variations
• Mix cooked Italian sausage or diced ham into the filling for meatier rolls.
• Add a swirl of pesto or garlic butter instead of sauce for flavor twist.
• Use cheddar or pepper jack cheese for a sharper or spicy variation.
• Sprinkle red pepper flakes or drizzle sriracha for a kick.
• Make them vegetarian with chopped mushrooms, bell peppers, onions, and herbs.
Pairing ideas
Homemade Pizza Rolls pair beautifully with bold savory dishes and cool sippers because the cheesy, saucy bites complement tangy sides and refreshing drinks—serve with grilled veggies or loaded potato wedges from the savory sides category, or offer a variety of dipping sauces from flavored dips and marinades. For balance, pour tangy iced tea or lemonade from the refreshing beverages collection. Brunch spreads benefit from sweet pastries in breakfast favorites alongside these savory rolls.
Discover more
If you love this biteable treat, explore other finger foods in snacks & appetizers, or round out meals with hearty dishes from perfect sides. Refresh your palette with fresh salad ideas in salads, and don’t forget sweet finishing touches from dessert recipes.
Storage guidelines
Store leftover rolls in an airtight container at room temperature for up to one day, or refrigerate for up to three days. Reheat in a 350 °F oven for about 5 minutes until crispy. Avoid microwave, which softens the crust. To freeze, wrap rolls individually and freeze; reheat from frozen, adding a minute or two of bake time.
Science behind Homemade Pizza Rolls
Rolling moist dough with rich filling leads to steam which creates separation and slight flakiness in cooked rolls because dough layers expand. Butter and cheese top form a caramelizing crust via Maillard reactions, producing golden color and savory aroma. Cooling allows starch retrogradation which firms structure enough to hold shape while staying tender.
Troubleshooting
If dough tears while rolling: let it rest longer to relax gluten.
If filling leaks: seal seam firmly and avoid overstuffing.
If rolls are doughy inside: use a thinner dough or bake a minute longer.
If bottoms are soggy: rotate halfway and increase oven heat slightly.
Additional inspirations
For more creative rolls and handheld treats, check snacks & appetizers. Elevate your spread with savory sides in perfect sides or lighten things with salad recipes in salads. Round off meals on a sweet note via dessert recipes or explore cool drink pairings in refreshing beverages.
Conclusion
Homemade Pizza Rolls bring the fun of pizza to your hands because soft dough, savory fillings, and a buttered, golden crust deliver warmth, comfort, and shareable delight in each bite. With simple steps and endless variations, they’re ideal for family dinners, gatherings, or anytime you crave cheesy, savory goodness made with love.

